INSTALLATION
Set up your AC Saver™ in minutes — no tools, no stress.
Whether it’s your first time or you just need a quick refresher, our step-by-step videos walk you through everything you need to know. From attaching the mesh to installing the sail valve, we’ve made it easy so you can start staying cool (and saving money) right away.
How to Install AC Saver™: Step-by-Step Guide
Install AC Saver™ in Under 5 Minutes
Installing the AC Saver™ Sail Valve – Quick Guide
Adding the Watering Timer to the AC Saver™
Step 1
Wrap the AC Saver™ around the front side of the condenser unit with top part in your hands and bottom part allowed to drape down. Tighten top part so it wraps and stays along top edge.
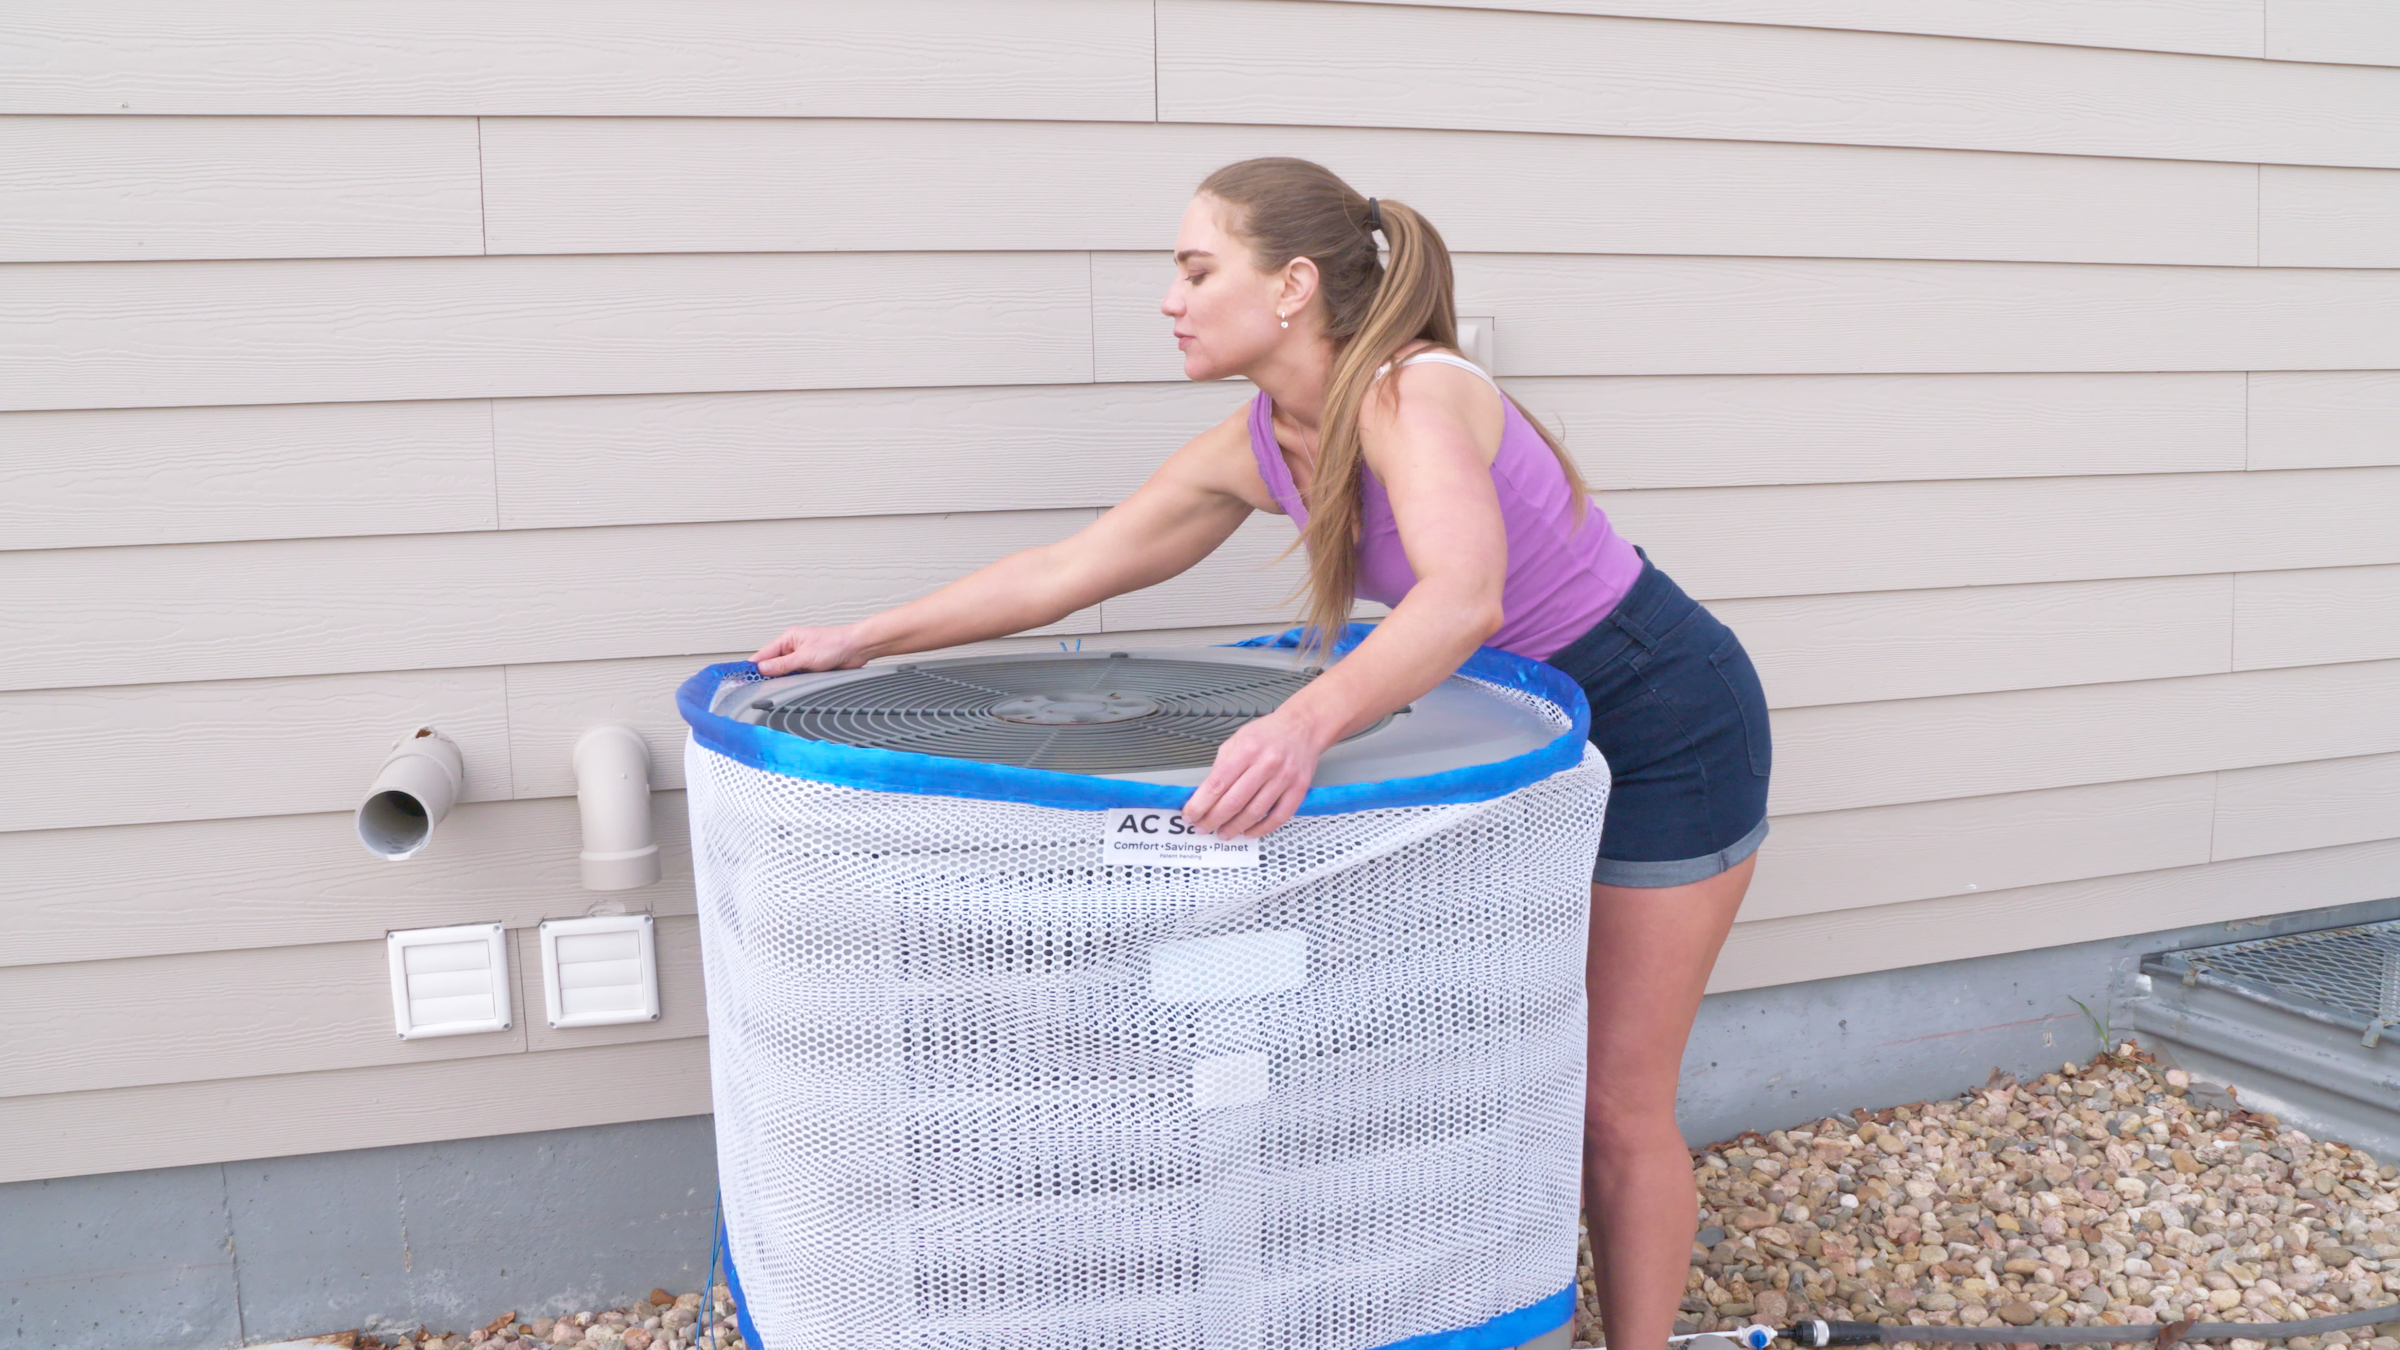
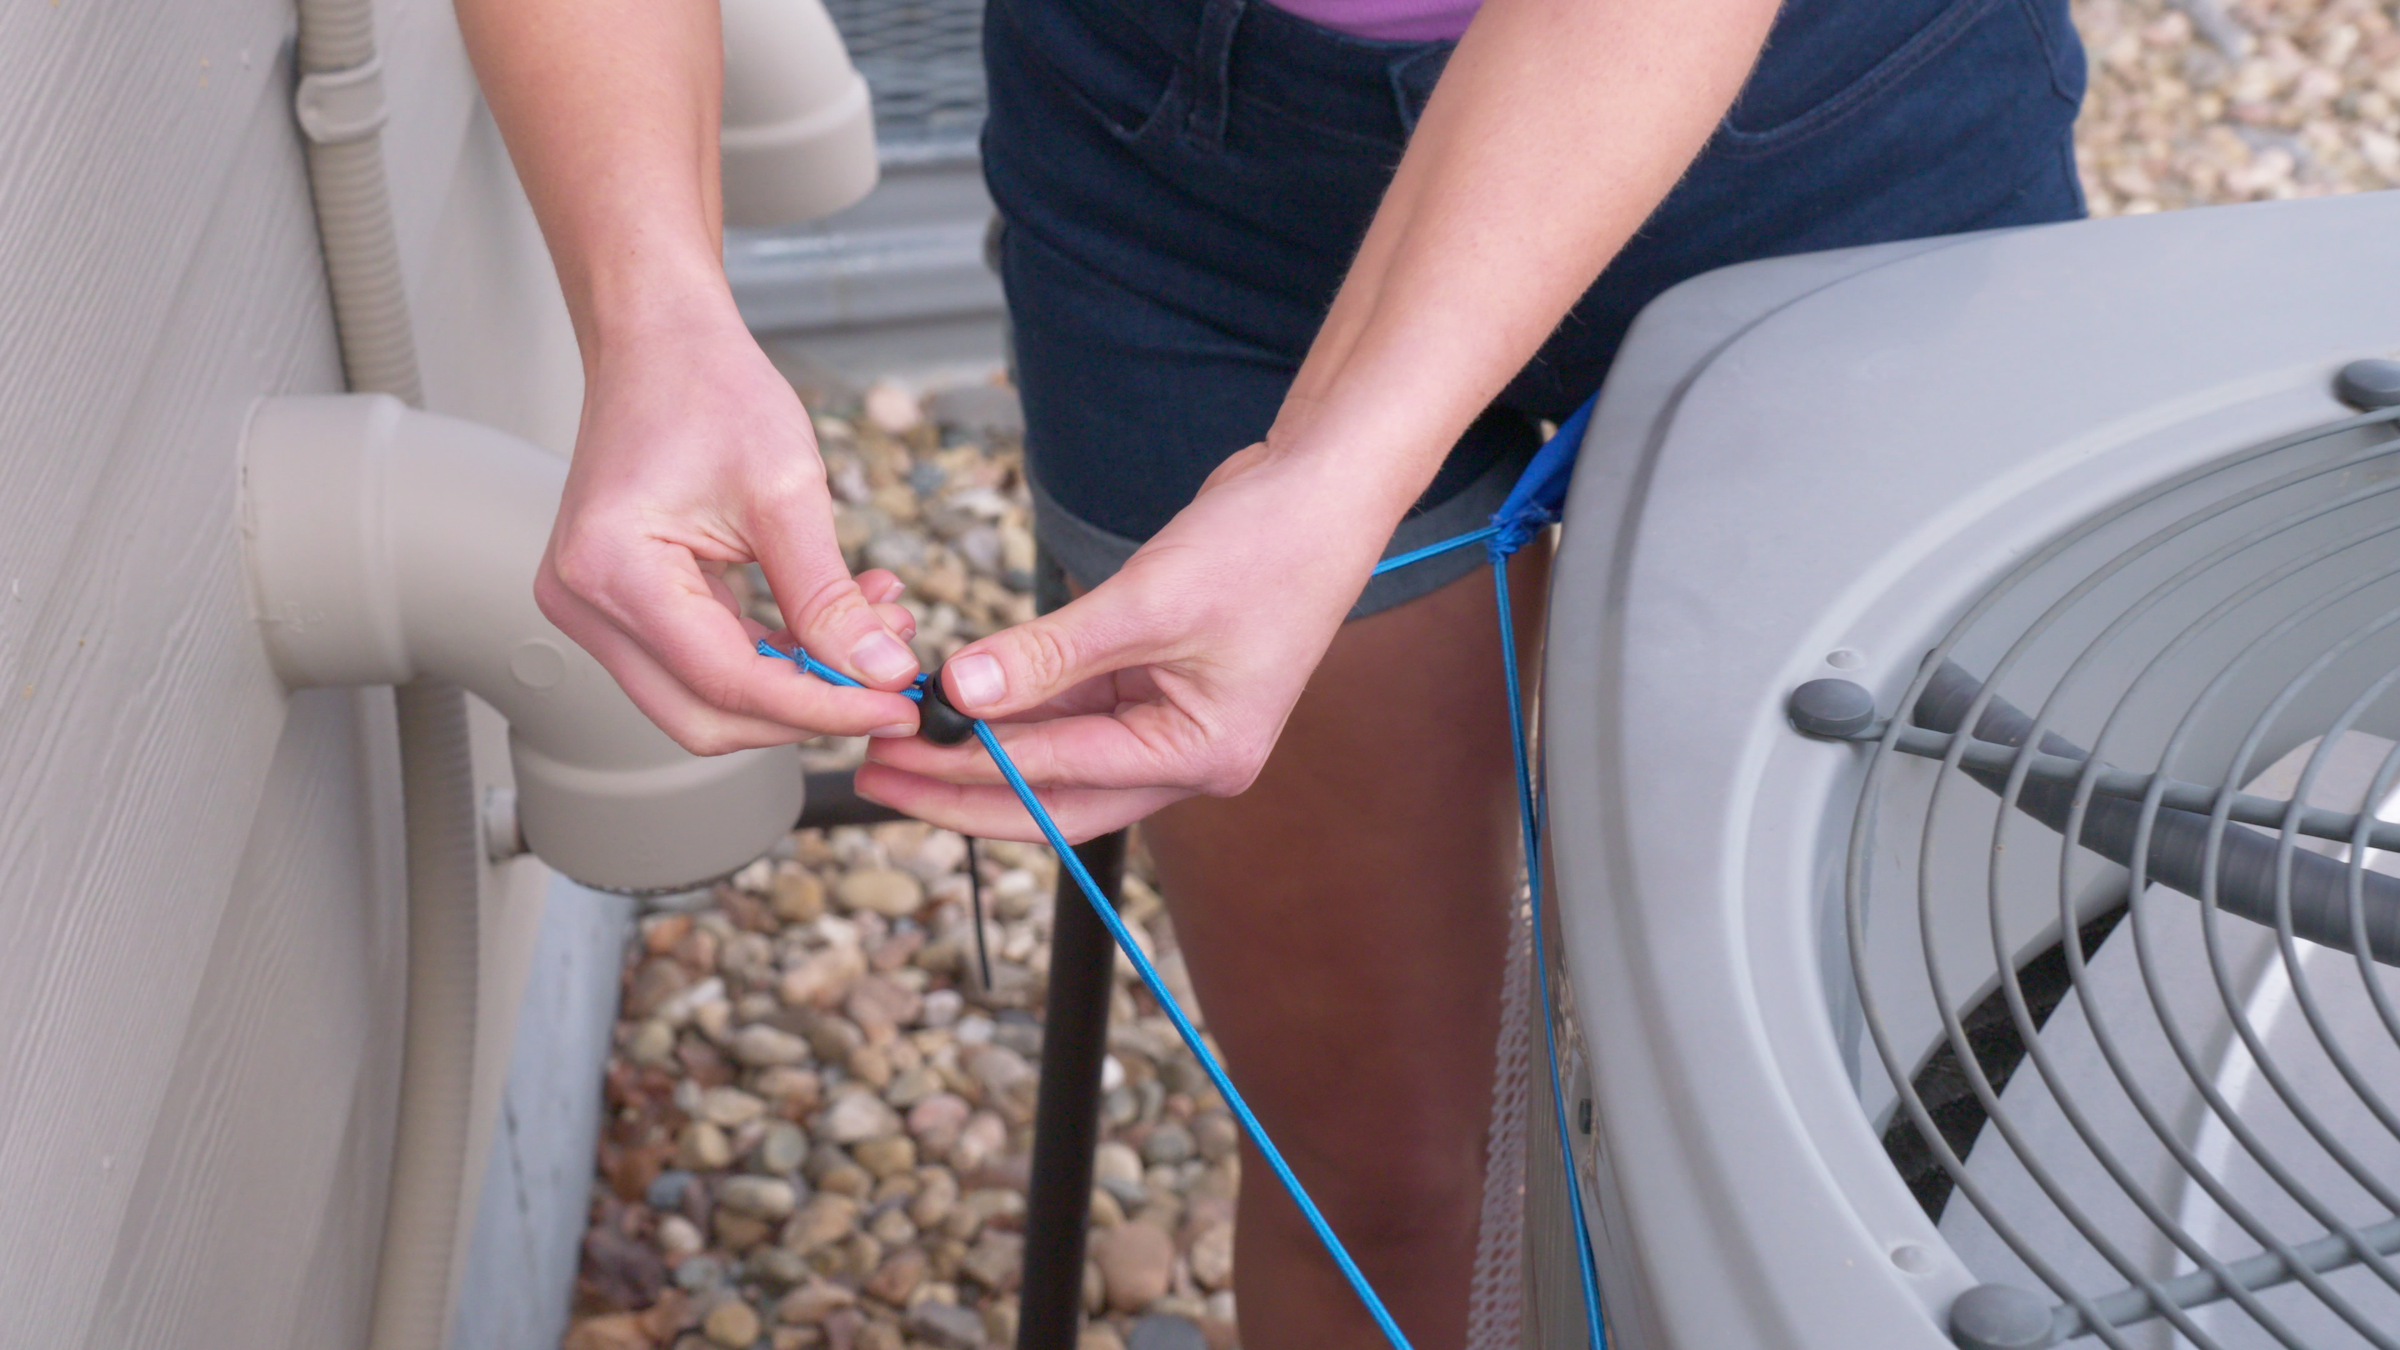
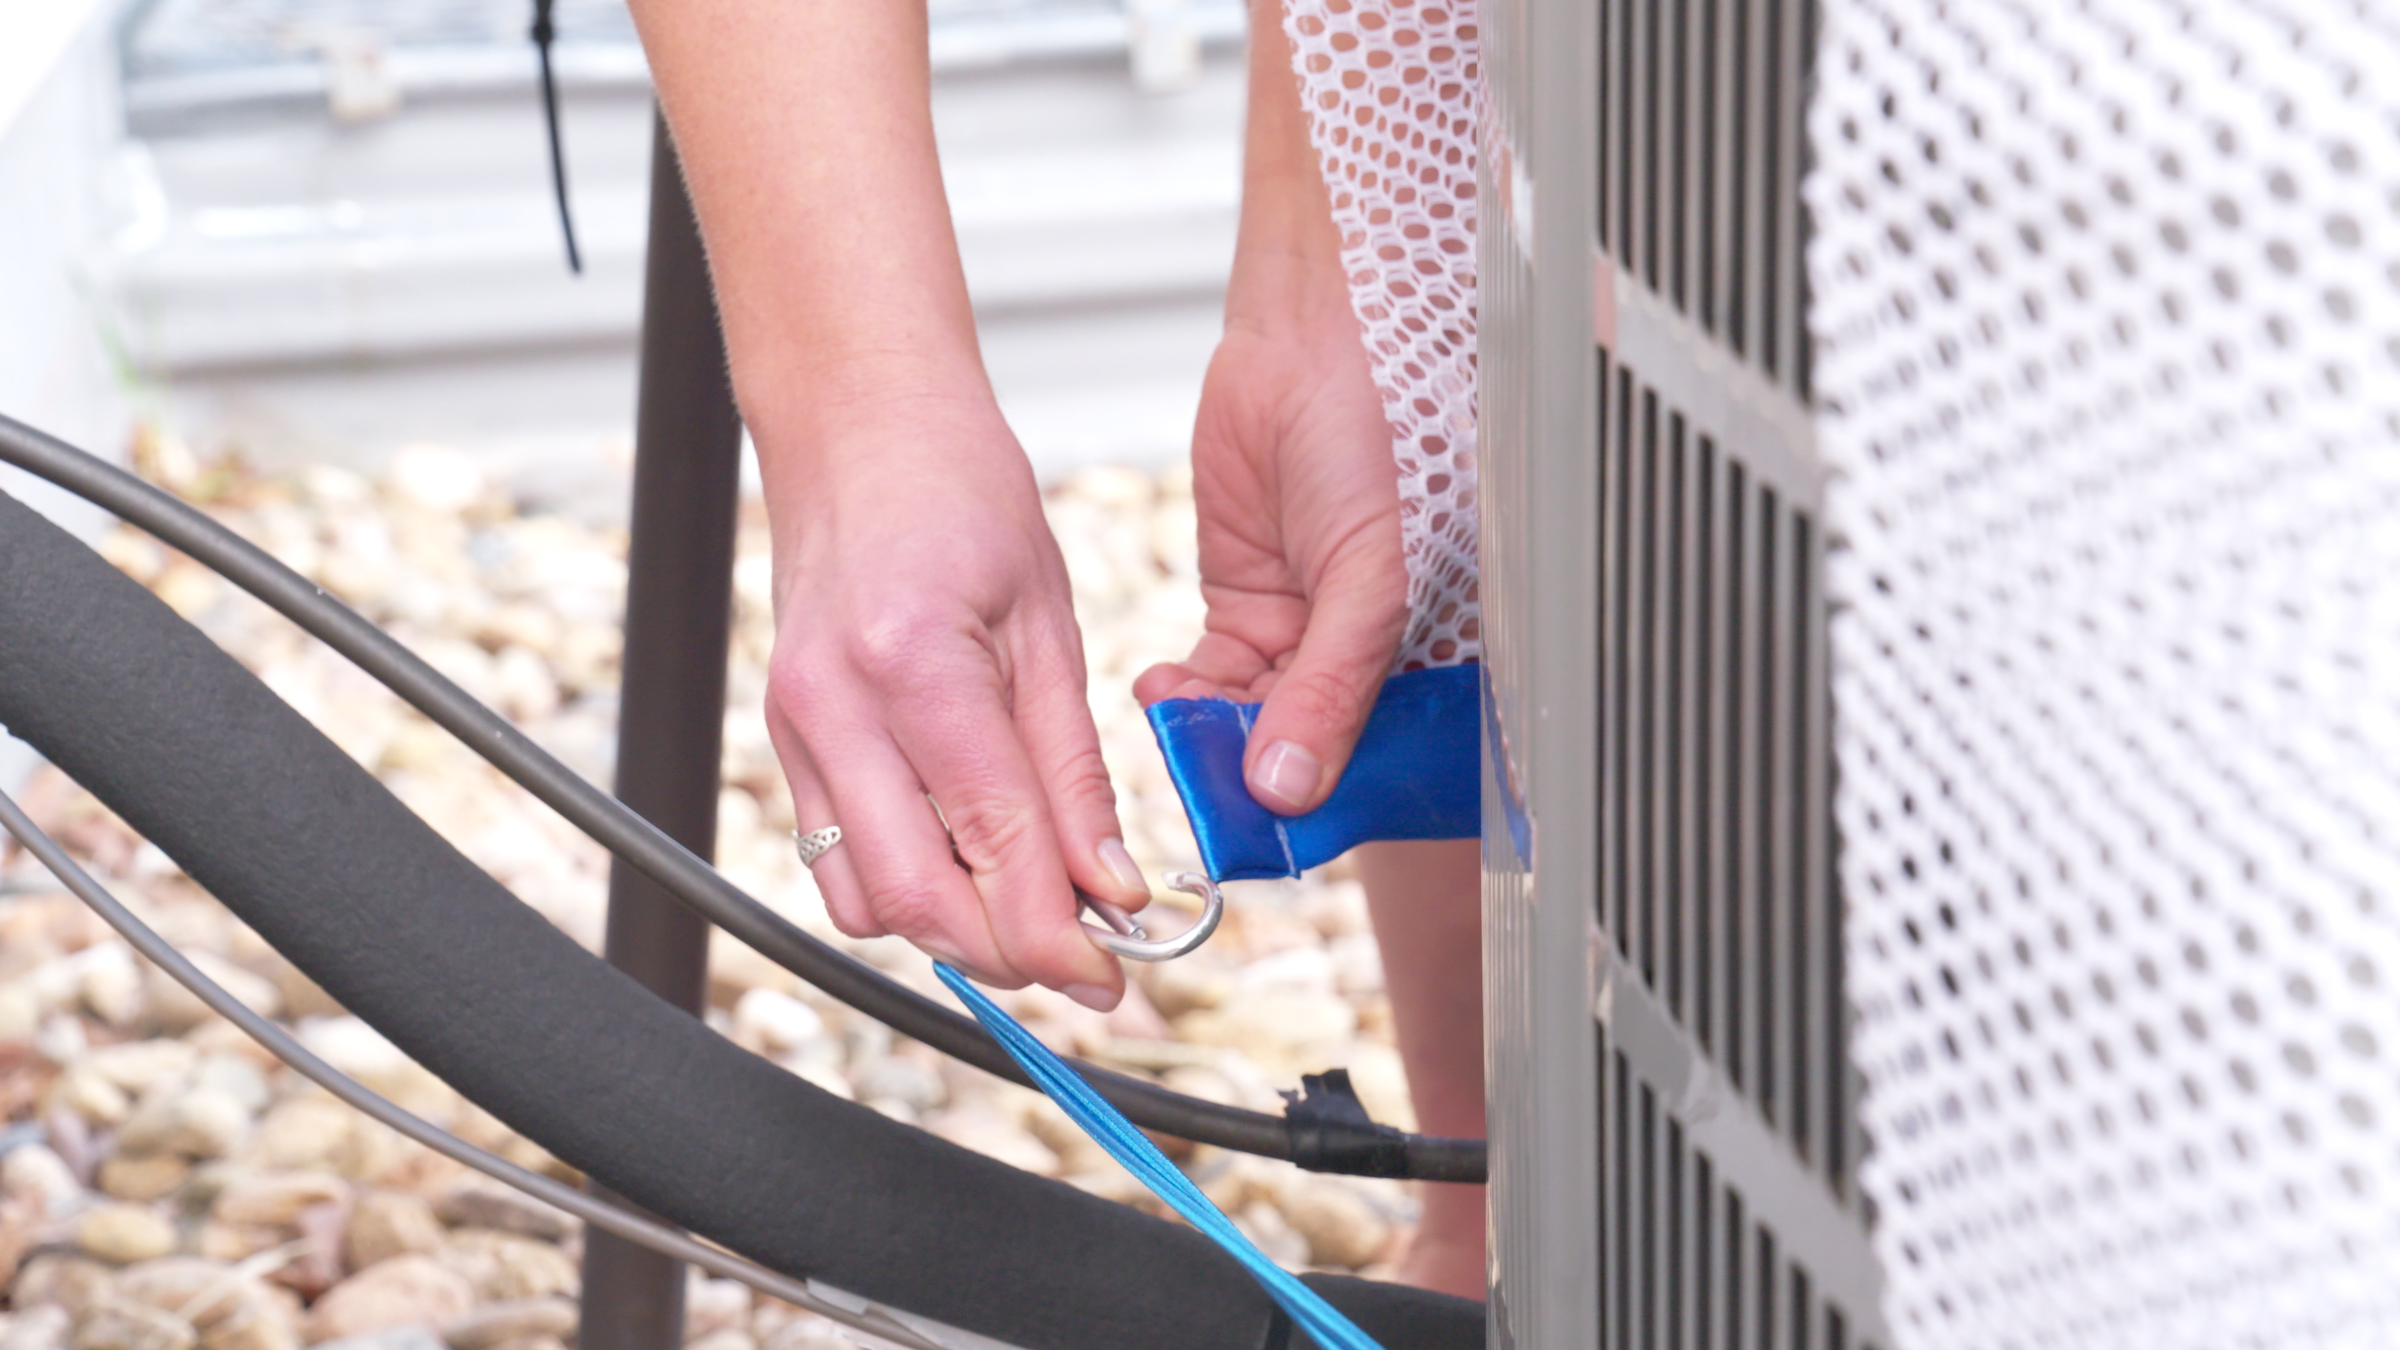
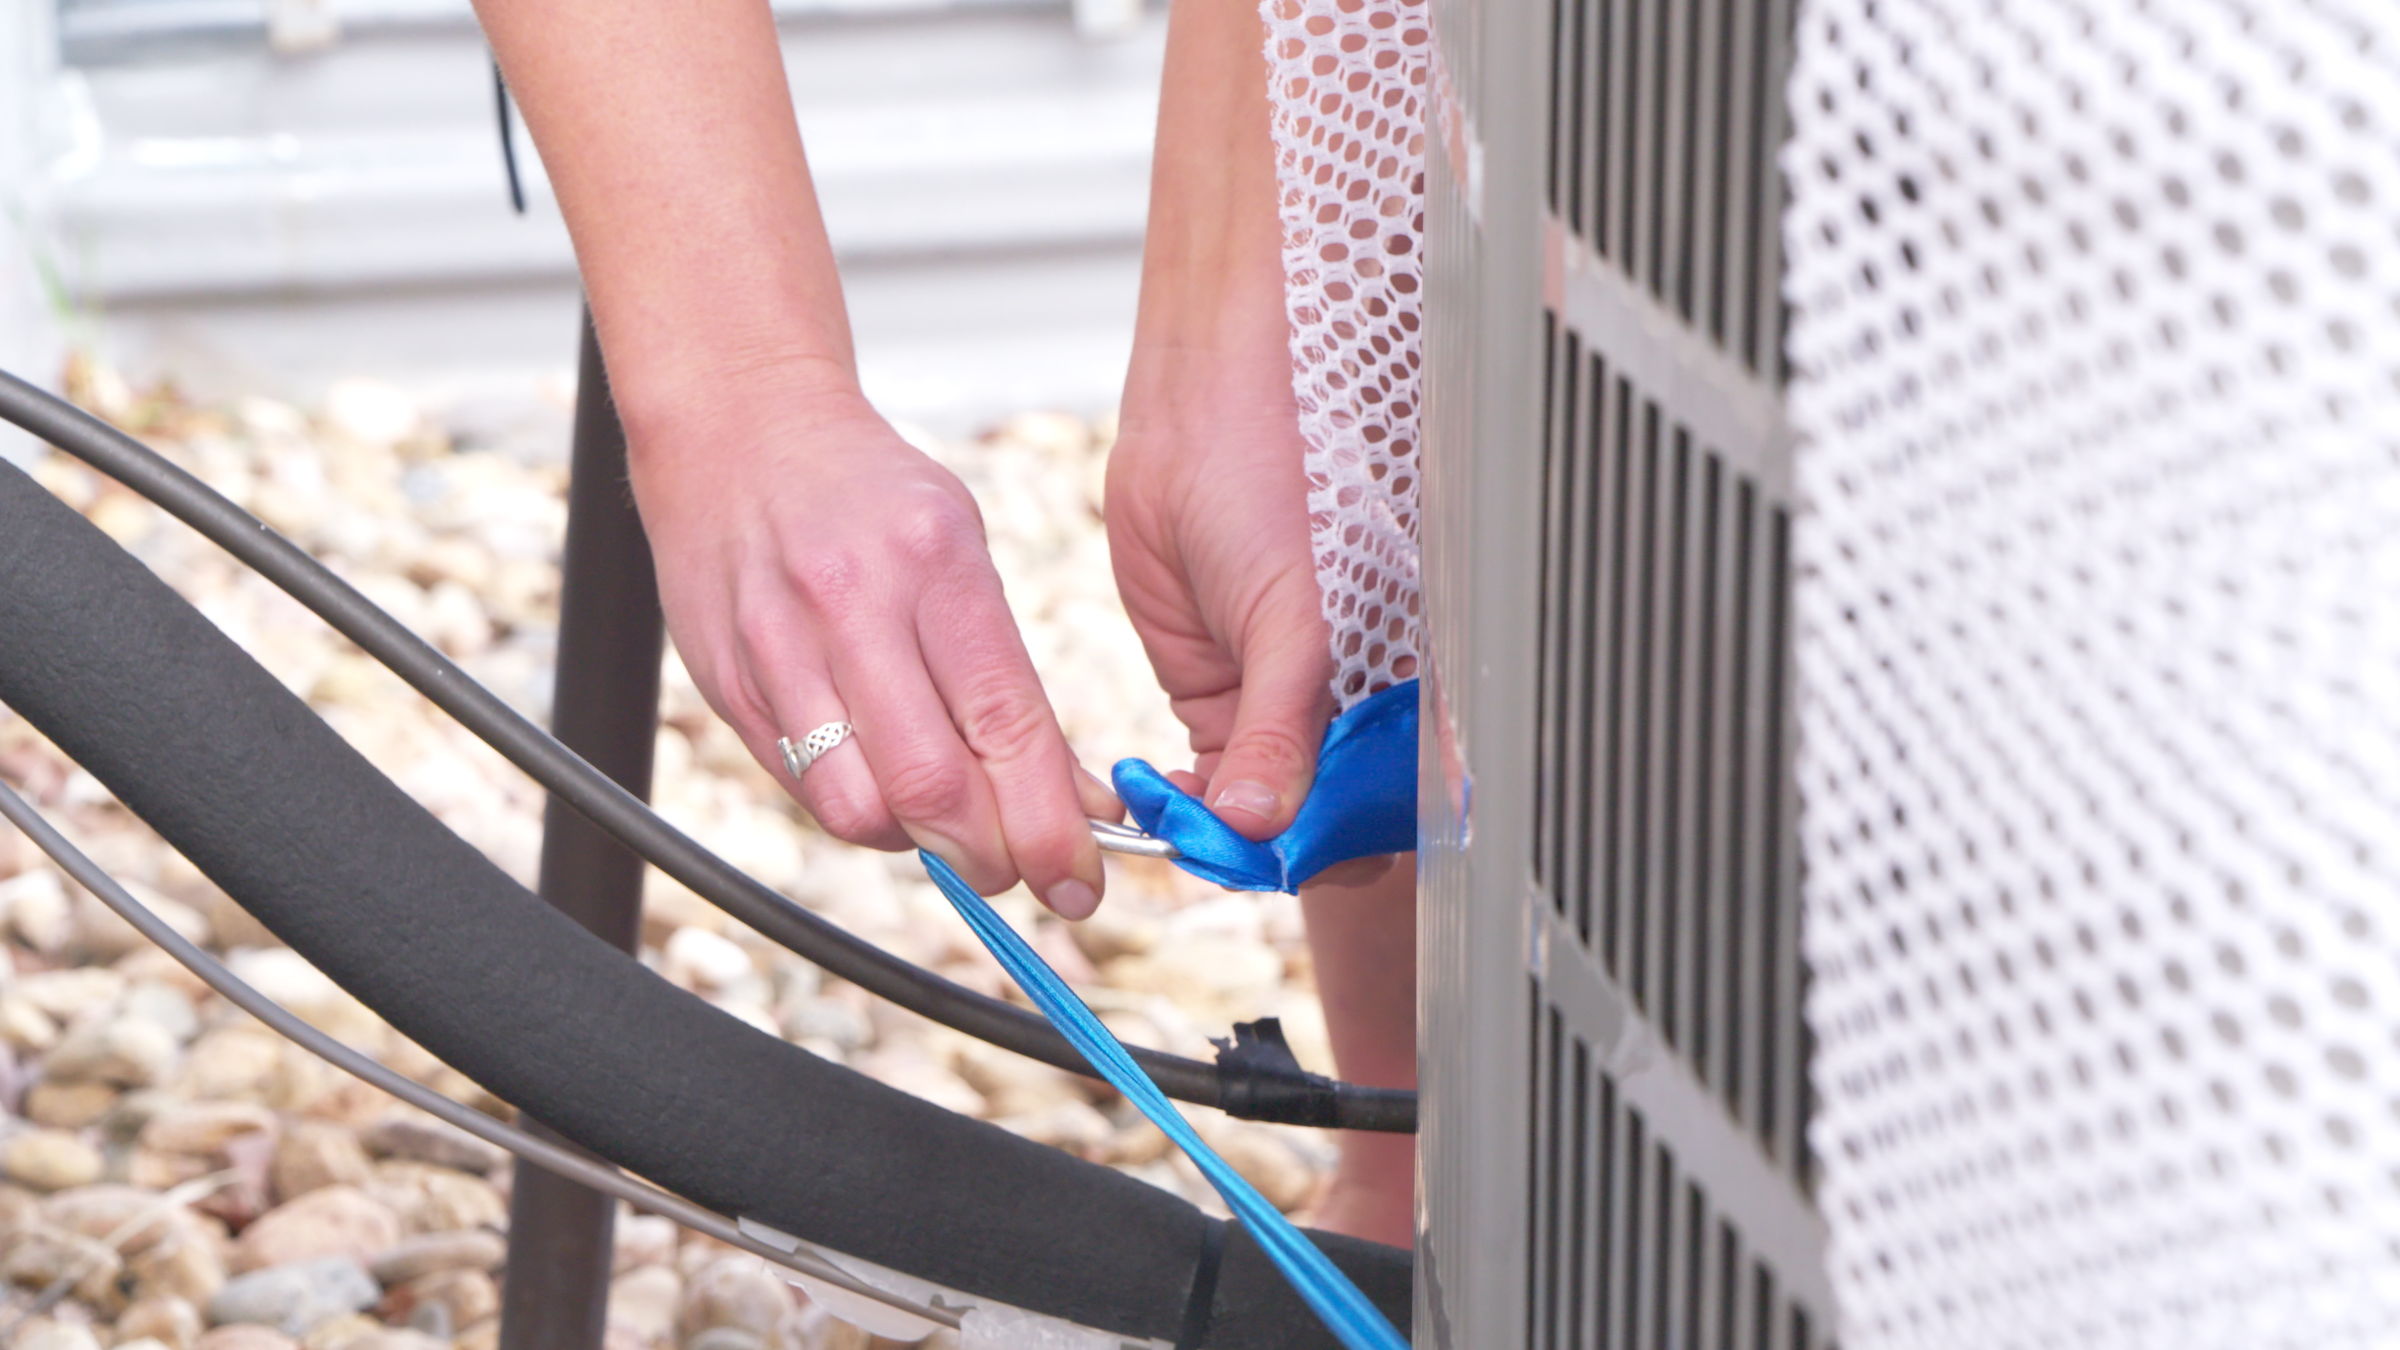
Step 2
Attach bottom end by attaching the hook to the open loop and tightening the elastic. The elastic band may need to wrap under the condenser power cable to ensure the mesh lays flat.
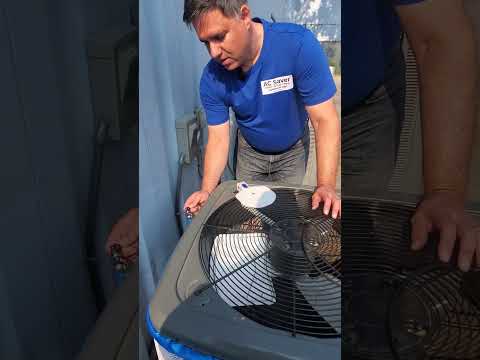
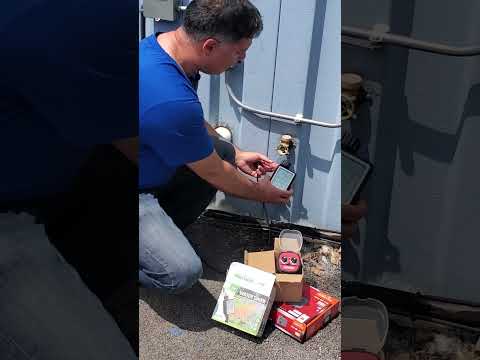
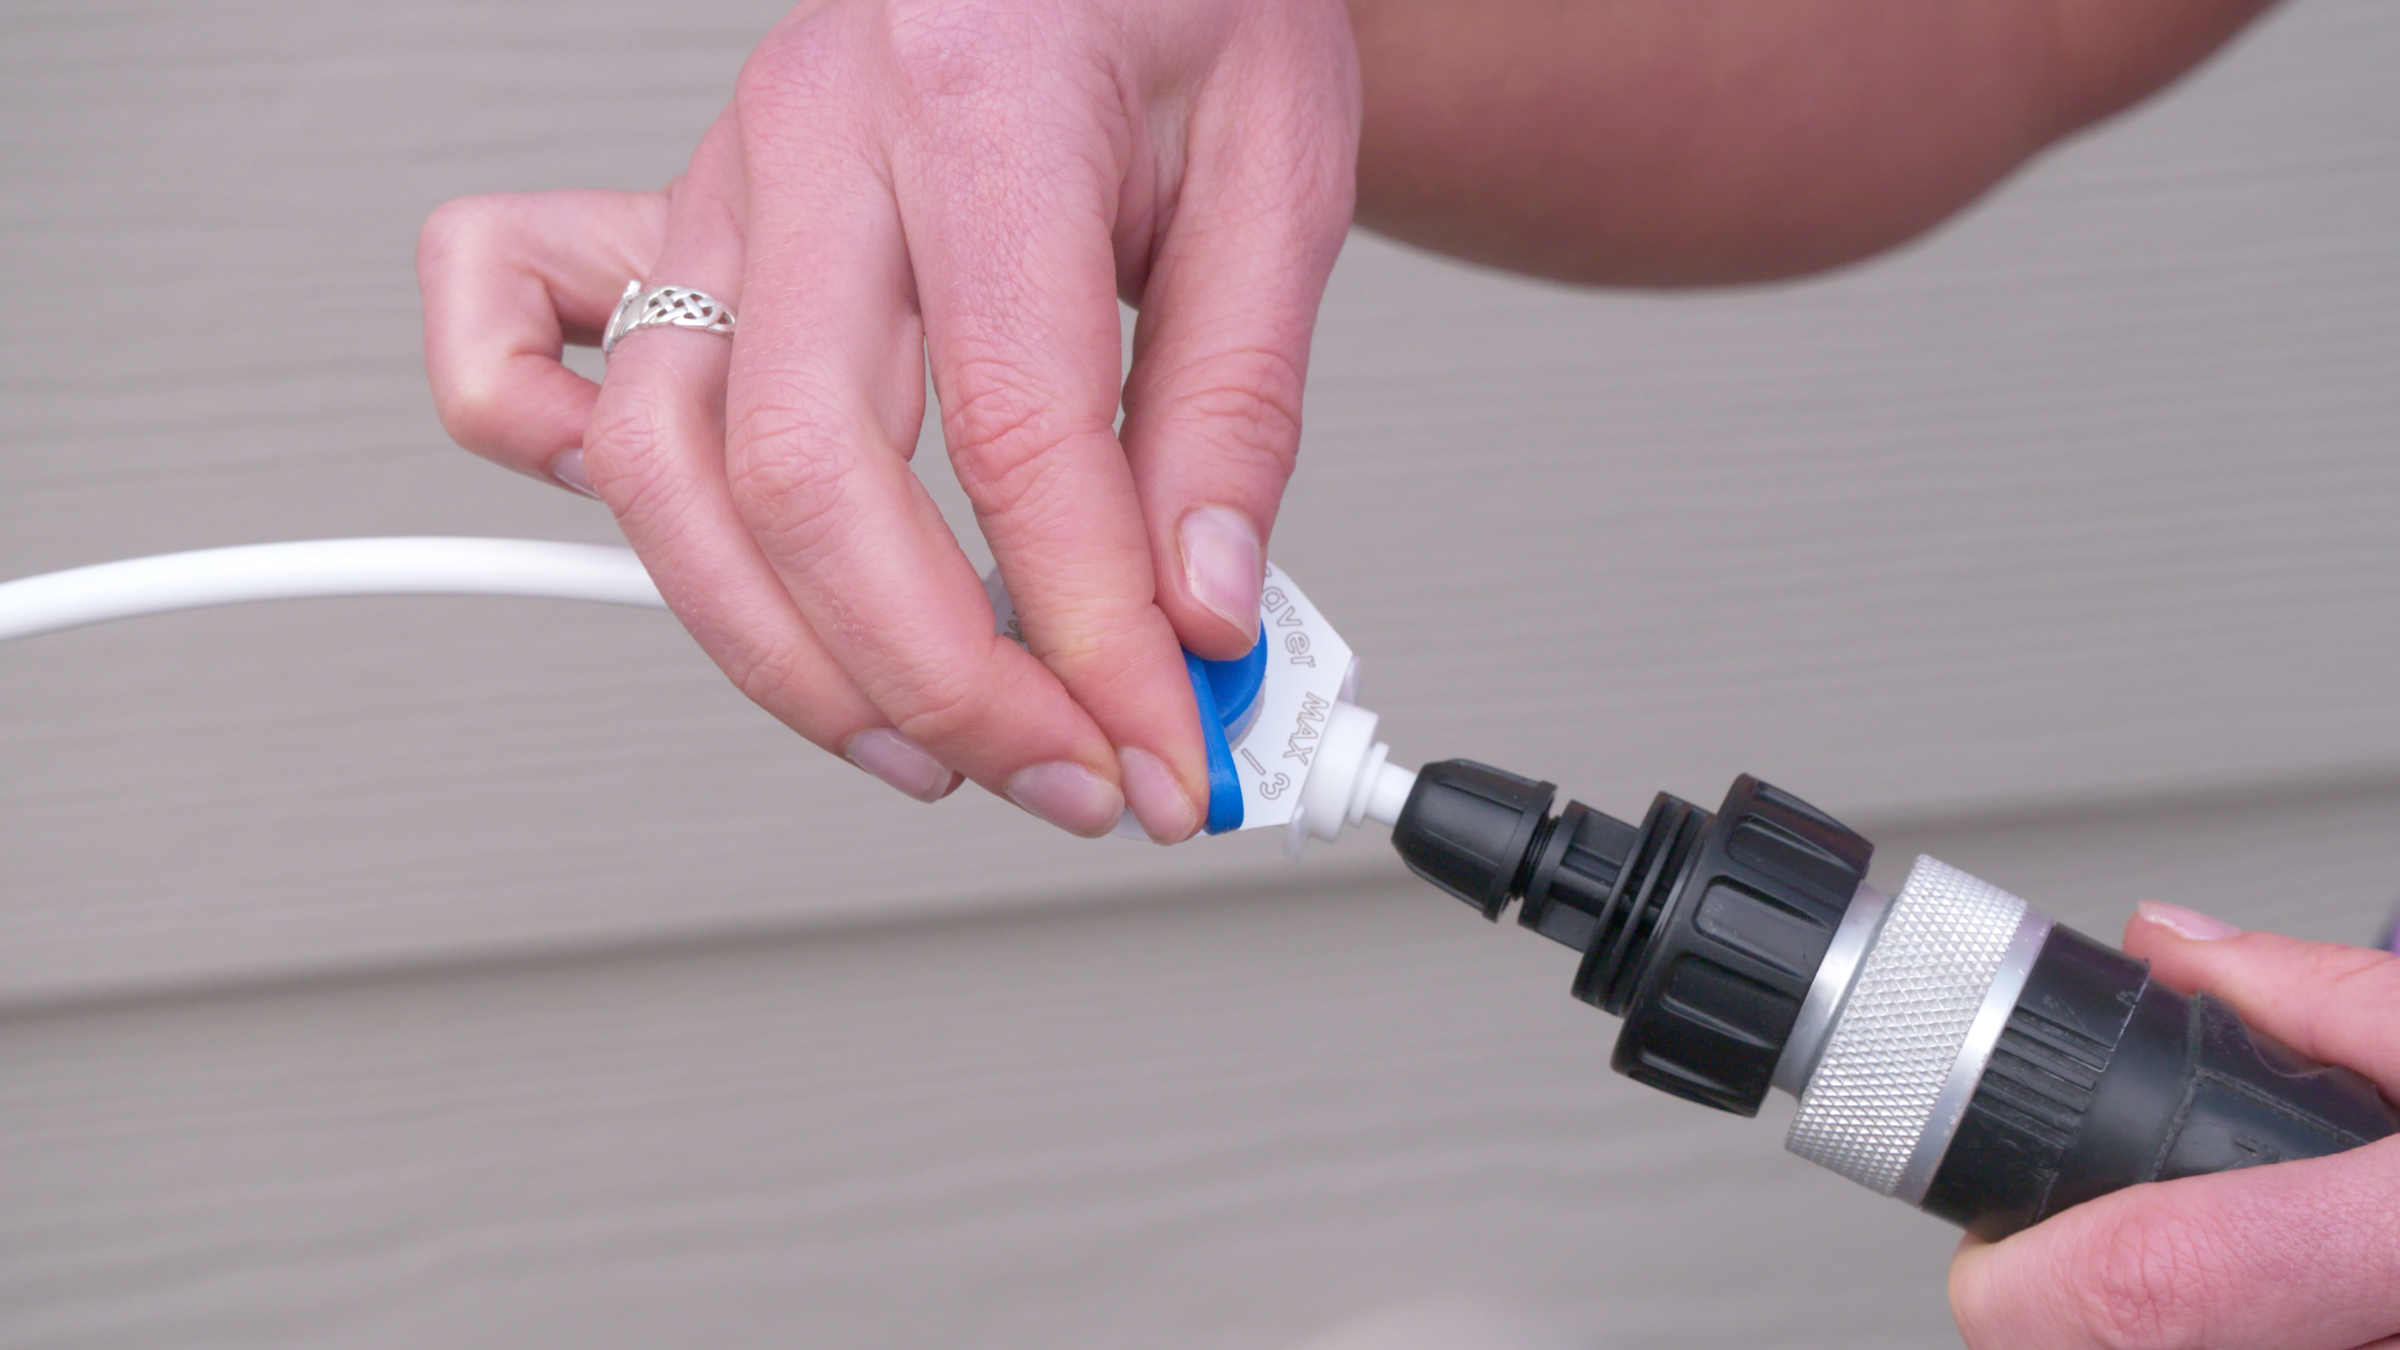
Step 3
Attach valve to a garden hose, attach water line to connecter located on the top part of the mesh fabric by pushing firmly (as shown). Set water flow rate on valve by turning it from “OFF” to a setting between “1” and “MAX”.

Get the Most Out of AC Saver™
Optimizing Water Use
The goal is to set a water flow rate while the condenser is running on a day above 80 degrees. The flow rate should result in some/limited dripping of water onto the ground while the condenser is running. On hotter days, a higher flow rate may be needed to ensure the AC Saver™ does not “run dry”, limiting the results.
Cleaning AC Saver™
The AC Saver ™ mesh in cleanable by hand washing with a mild detergent. Calcium buildup is partially cleanable by soaking in a 1:1 mix of CLR (Calcium Lime and Rust Remover cleaning product) and water for 2 minutes, then rinse thoroughly.
Cleaning the Condenser Unit
The AC Saver™ keeps water away from the condenser coils, located behind the condenser unit’s outer surface/grate. This avoids calcium buildup directly on the coils. However, the outer surface/grate may get calcium stains over time, depending on the hardness of the water supply. This does not affect the performance of the condenser unit and can be spot cleaned with CLR.